
Renovation looks chaotic from the outside and is in fact highly ordered. Nearly every stage depends on the one before it being finished and correct, which is why the sequence rarely varies.
Why order matters so much
Construction runs on dependencies. Tile cannot go on a wall that is not waterproofed. Waterproofing cannot go over plumbing that has not been inspected. Cabinets cannot be set against a wall that is not straight and finished.
Understanding the sequence changes how a project feels to live through. The long stretch where nothing visible seems to happen is usually the stage that determines whether everything after it works.
Demolition
The fastest and most dramatic stage. Old finishes, fixtures and sometimes walls come out, and the space is stripped back to structure.
It is also when the house reveals what it has been hiding. Older homes routinely turn up something unexpected once the walls are open — previous work done differently than assumed, or conditions nobody could see beforehand. This is the most common point for a schedule to be revised, and it is not a sign that something has gone wrong.
Structural and framing work
If walls are moving or openings changing, framing happens next. Anything the structure depends on gets resolved before systems go in, because those systems run through the framing.
This is also when blocking gets added — reinforcement inside the walls for anything that will later be mounted to them, from grab bars to heavy mirrors to a wall-hung vanity. Blocking is inexpensive to add now and disruptive to add later.
Rough-in: plumbing, electrical, HVAC
The stage where the most consequential work happens and the room looks least like a room. Supply and waste lines, wiring, ventilation ducting — everything that lives inside the walls goes in now.
This is why decisions get asked of you earlier than feels reasonable. The position of a shower valve, whether a niche is lit, which switch controls which lights, where the pendants hang — all of it is set during rough-in. After the walls close, changing any of it means opening them again.
Worth settling before rough-in
- Exact fixture positions, not approximate ones
- Every switch and outlet location, and what each controls
- Lighting layers, including anything recessed or inside cabinetry
- Blocking for anything that will hang on a wall
- Ventilation routing and where it terminates
Inspections
Rough-in work is reviewed before it gets covered. It is a pause in visible progress, and it exists precisely because what is behind a wall cannot be examined once the wall is closed.
Insulation and drywall
Walls close up. The space abruptly looks like a room again, which after weeks of framing and pipe is a genuine morale shift.
Drywall is a multi-pass process — hanging, then taping and successive coats of compound, each needing to dry before the next. Then sanding, which is the dustiest event of the whole project. The finished flatness here determines how everything mounted to these walls will sit.
Waterproofing and tile
In wet areas, waterproofing goes on before tile. Tile and grout are not themselves waterproof — water passes through grout — so the assembly behind them is what actually protects the structure.
Tile then goes on in stages: layout and setting, cure time, then grout, then cure again. The layout stage is worth attention, because where the pattern starts determines where the awkward cuts land.
Cabinetry, counters, and the measuring gap
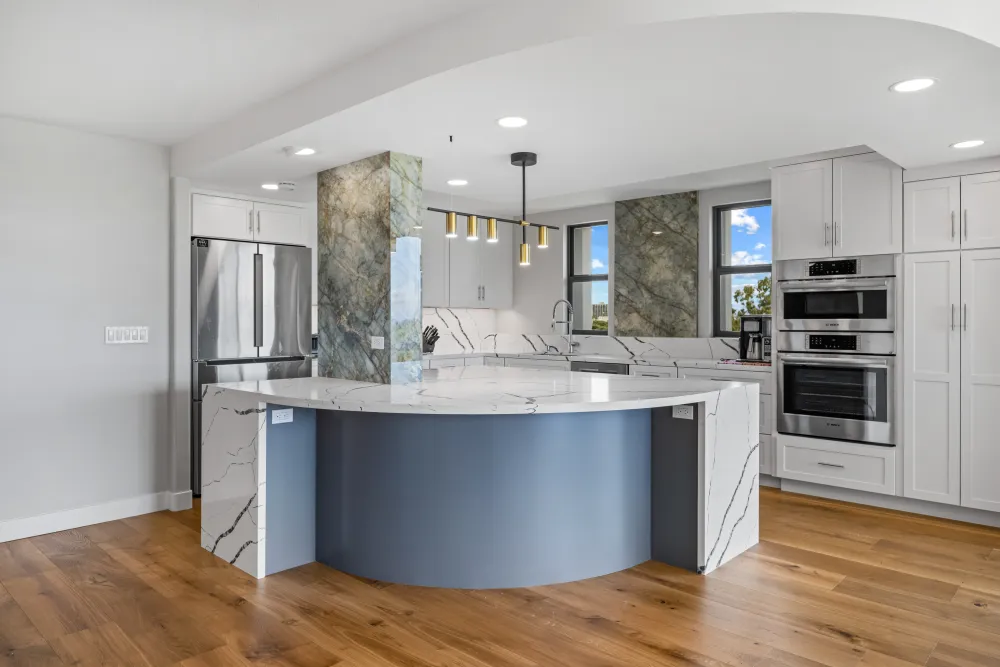
Cabinets are set and levelled. Then, for stone counters, comes a step people do not expect: the counters are templated against the cabinets as actually installed, then fabricated, then returned and set.
That gap between templating and installation is real and cannot be compressed — it is why a kitchen often sits with cabinets and no counters for a stretch. Planning for a temporary washing-up arrangement through that window makes it much easier to live with.
Finishes and fixtures
Paint, flooring transitions, hardware, light fixtures, plumbing trim, mirrors, glass. The room becomes itself.
This is the stage that most often takes longer than it looks like it should. Each item is small; there are a great many of them; and several depend on trades returning for short visits that have to be coordinated around each other.
Punch list and walkthrough
A walkthrough to catalogue everything remaining — a touch-up here, an adjustment there, a piece of hardware that needs realigning.
It is worth being thorough and specific here rather than gracious. A clear, complete list is easier for everyone to work from than a vague sense that something is not quite right, and this is the natural moment to raise it.
The pattern to expect: fast and dramatic at demolition, then a long quiet stretch through rough-in where progress is real but invisible, then rapid visible change once the walls close, then a final phase that moves more slowly than the near-finished room suggests it should.